Get Started - Structure Sensor 3
Everything from A to Z on using your new Structure Sensor 3.
The first step on your journey.
Congrats on your new Structure Sensor! We're sure you're eager to start exploring Structure Sensor's capabilities. To help you get the most out of your experience, we've put together this quick start guide to help familiarize you with this advanced accessory.
What's in the box?
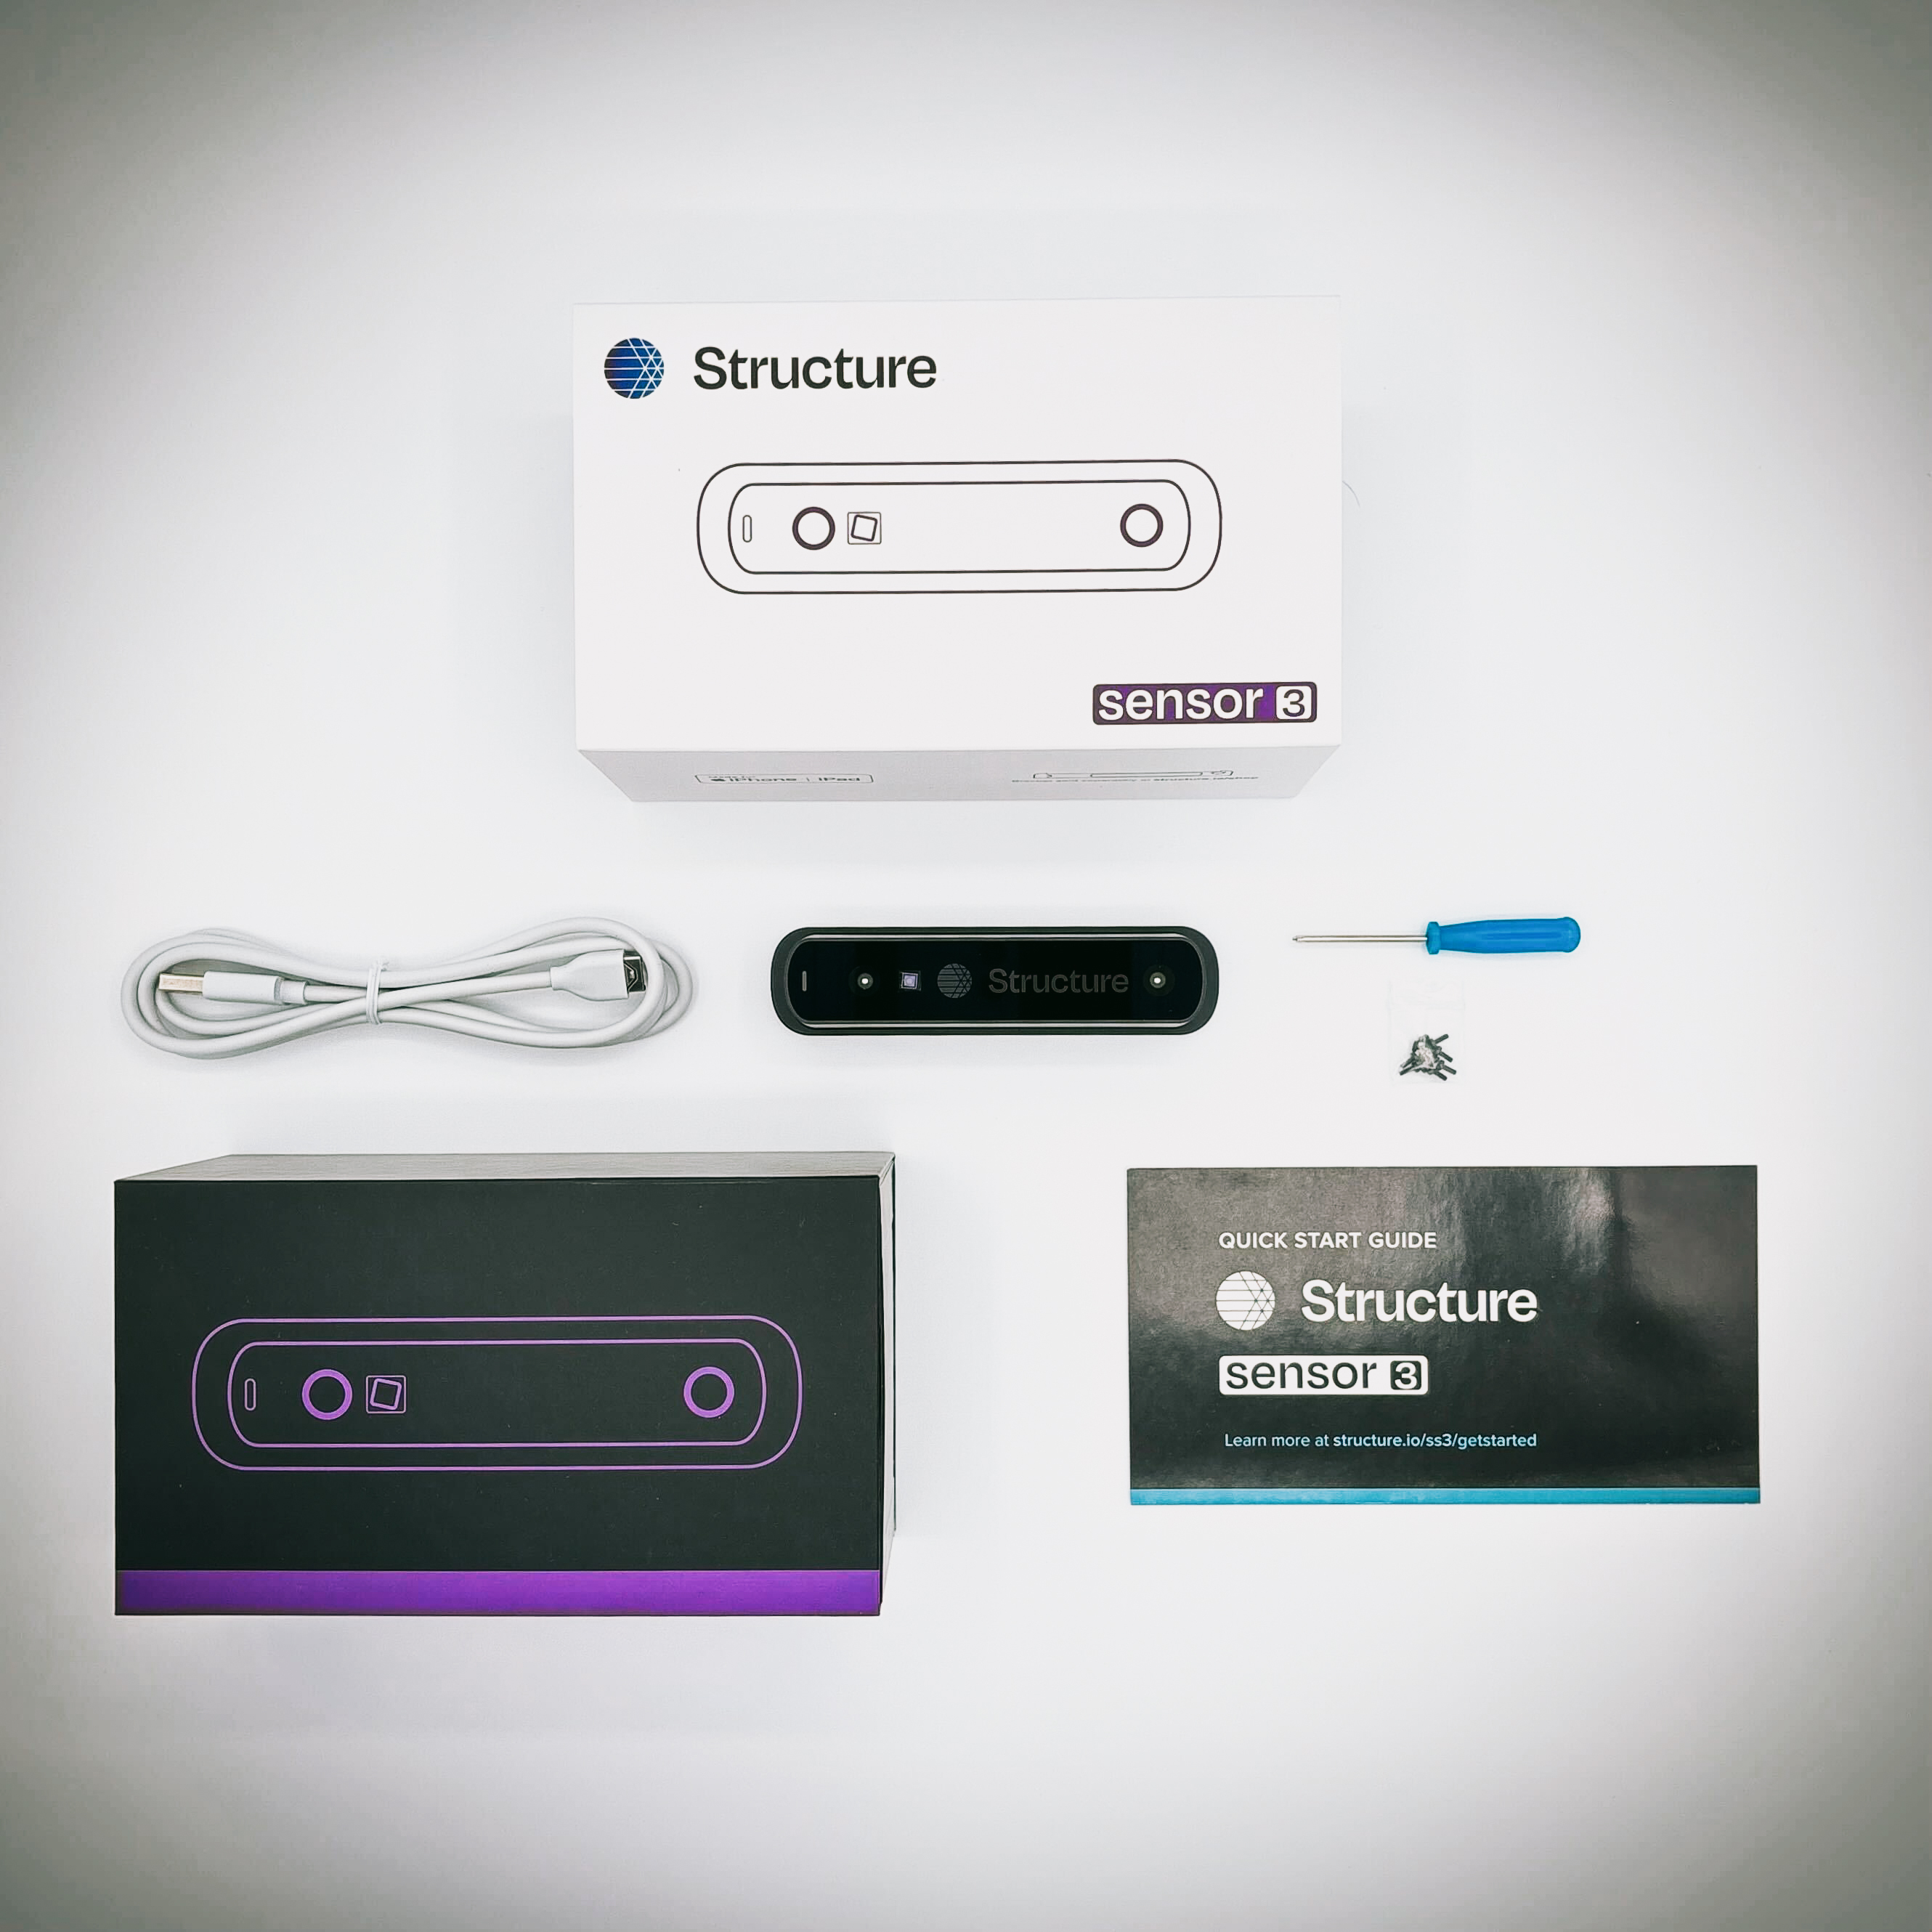
Structure Sensor 3s purchased directly from the Official Structure Sensor Store will arrive in a packing box containing:
- Gift Box (includes Structure Sensor 3)
- Bracket
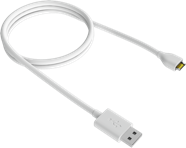
- Cable
Structure Sensor Gift Box
- One Structure Sensor 3
- One USB charging cable
- One magnetic screwdriver
- Ten (10) M1.6 screws
- One user manual
If you are missing any of these items, contact support@structure.io immediately.
Structure Sensor Brackets

Compression bracket for newer iPads

Structure Sensor Precision Bracket for iPad (9th gen) only
Structure Sensor Cables

USB-C Cable for Structure Sensor 3

Lightning Cable for Structure Sensor 3
Charging your Structure Sensor 3
To preserve the battery life of your iPad, Structure Sensor 3 has its own internal battery. Charging your Structure Sensor's battery is simple: connect the charging cable to your sensor, and then plug the USB end into any strong USB 2.0-compatible device.
Expected charging times
| Wall charger (greater than 1.5A/7.5W output) | ~2 hours |
| Connected to PC via a USB charging port or externally powered USB Hub | ~2.5 hours |
| Connected to PC USB Port (native data port) | ~5.5 hours |
| Connected to USB-C ipad | ~18 hours |
Please Note: These charging times may vary depending on firmware version and associated optimizations.
Status LED
The LED indicator will pulse blue when your Structure Sensor's battery is charging. As soon as your battery is completely charged, the LED indicator will remain solid until disconnected.
USB Hacker Cable (for charging) is available in the accessories section of the Structure Sensor Store.
Purchase USB Charging Cable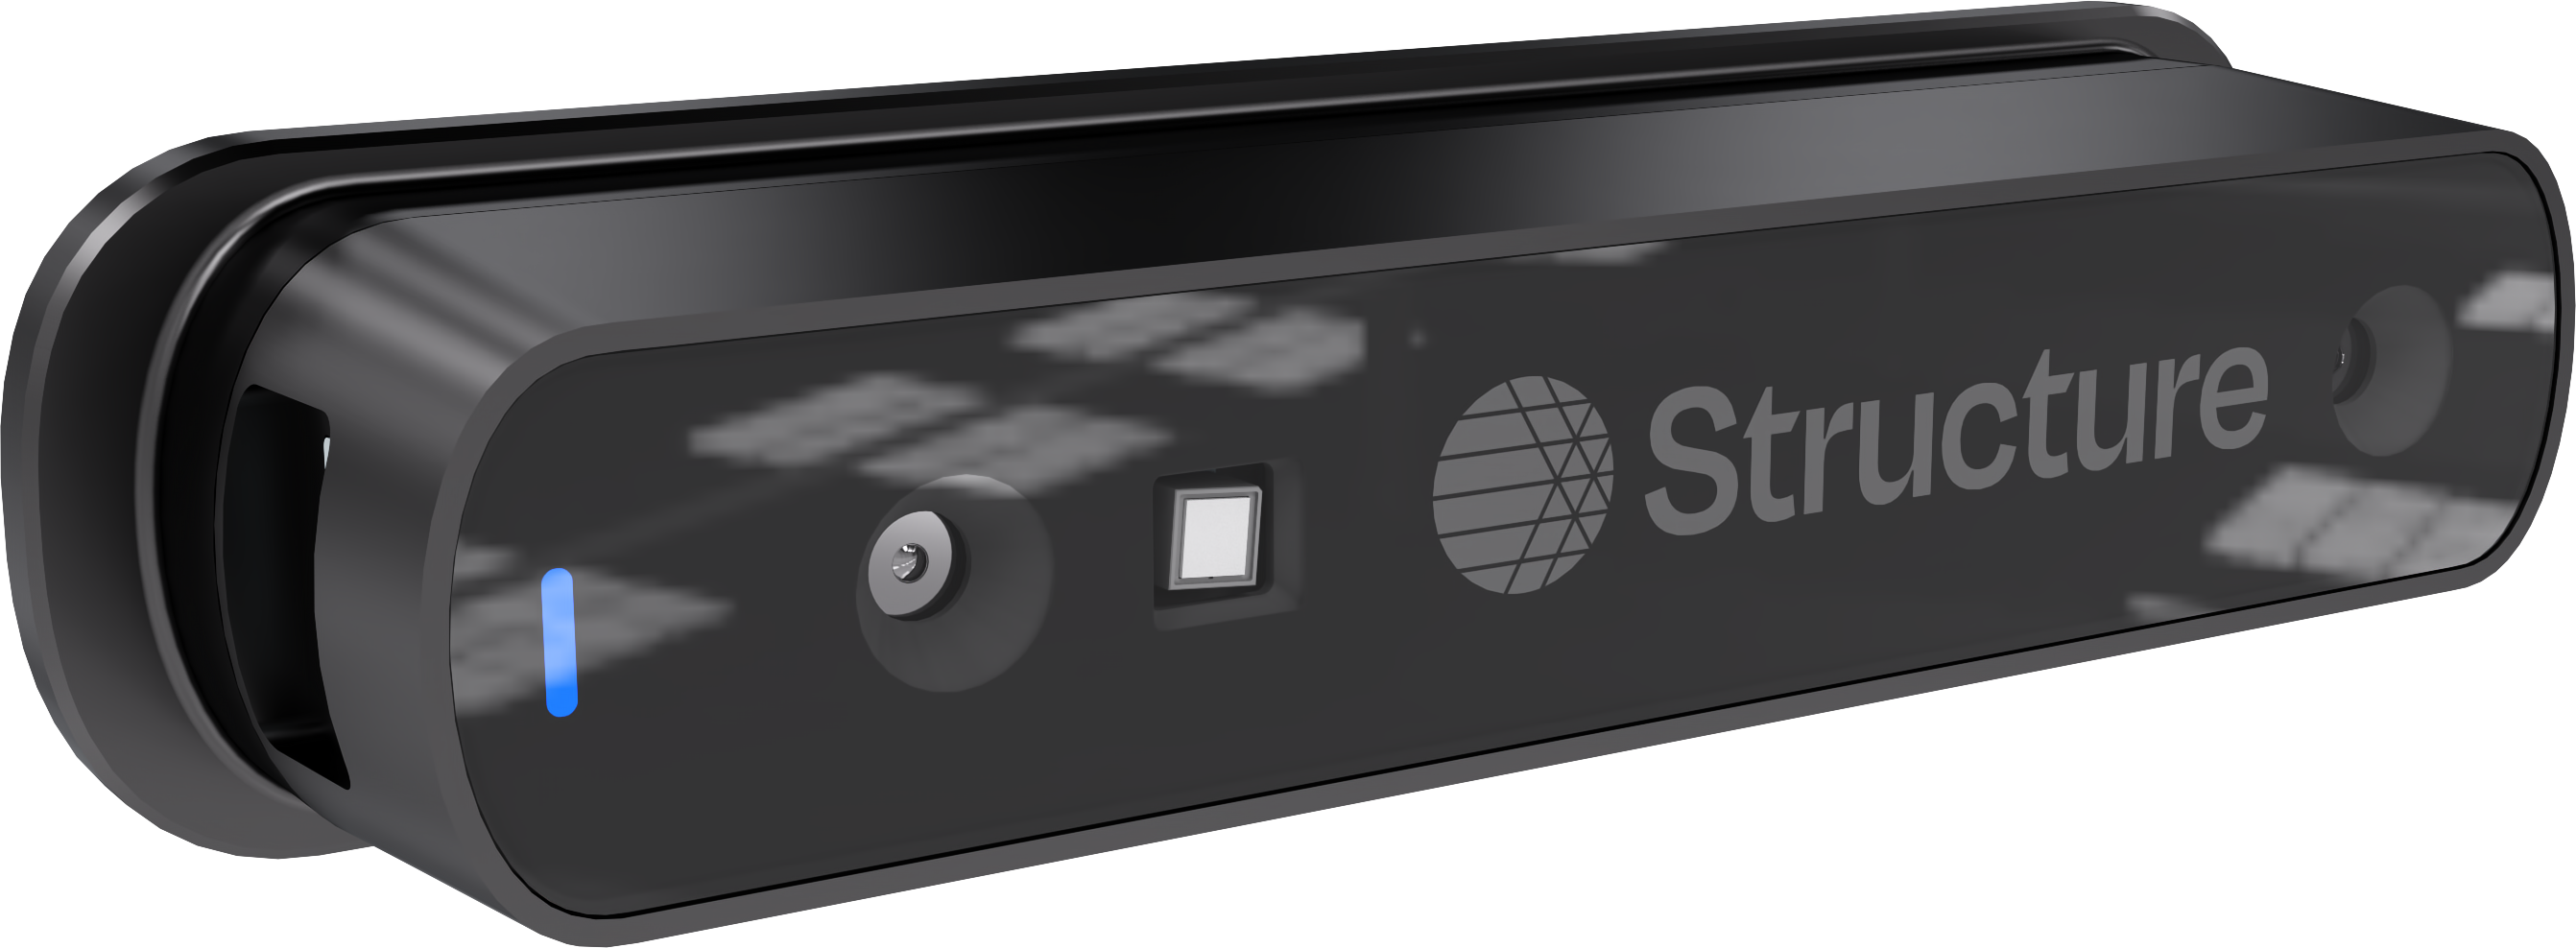
Getting Started with Structure Sensor 3
1. Mounting with the Compression Bracket

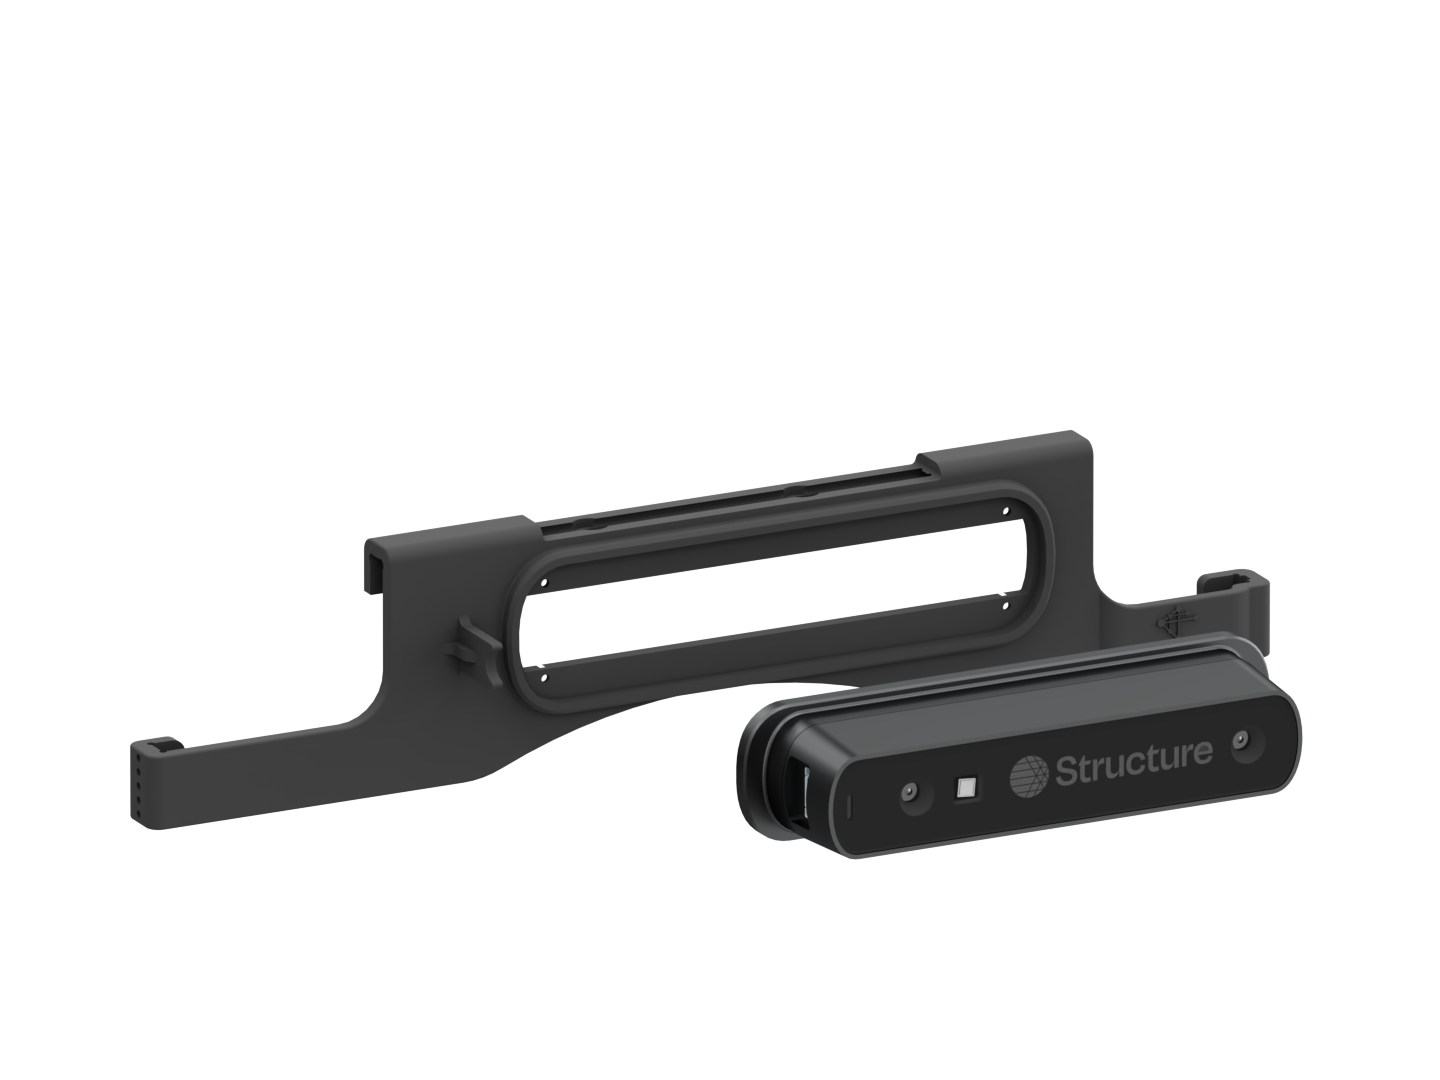
1. Attach Structure Sensor to your bracket.
Attach Structure Sensor to your iPad bracket using the supplied screws and screwdriver.
Important: Only use the screws that came with your sensor to attach the sensor to the bracket.
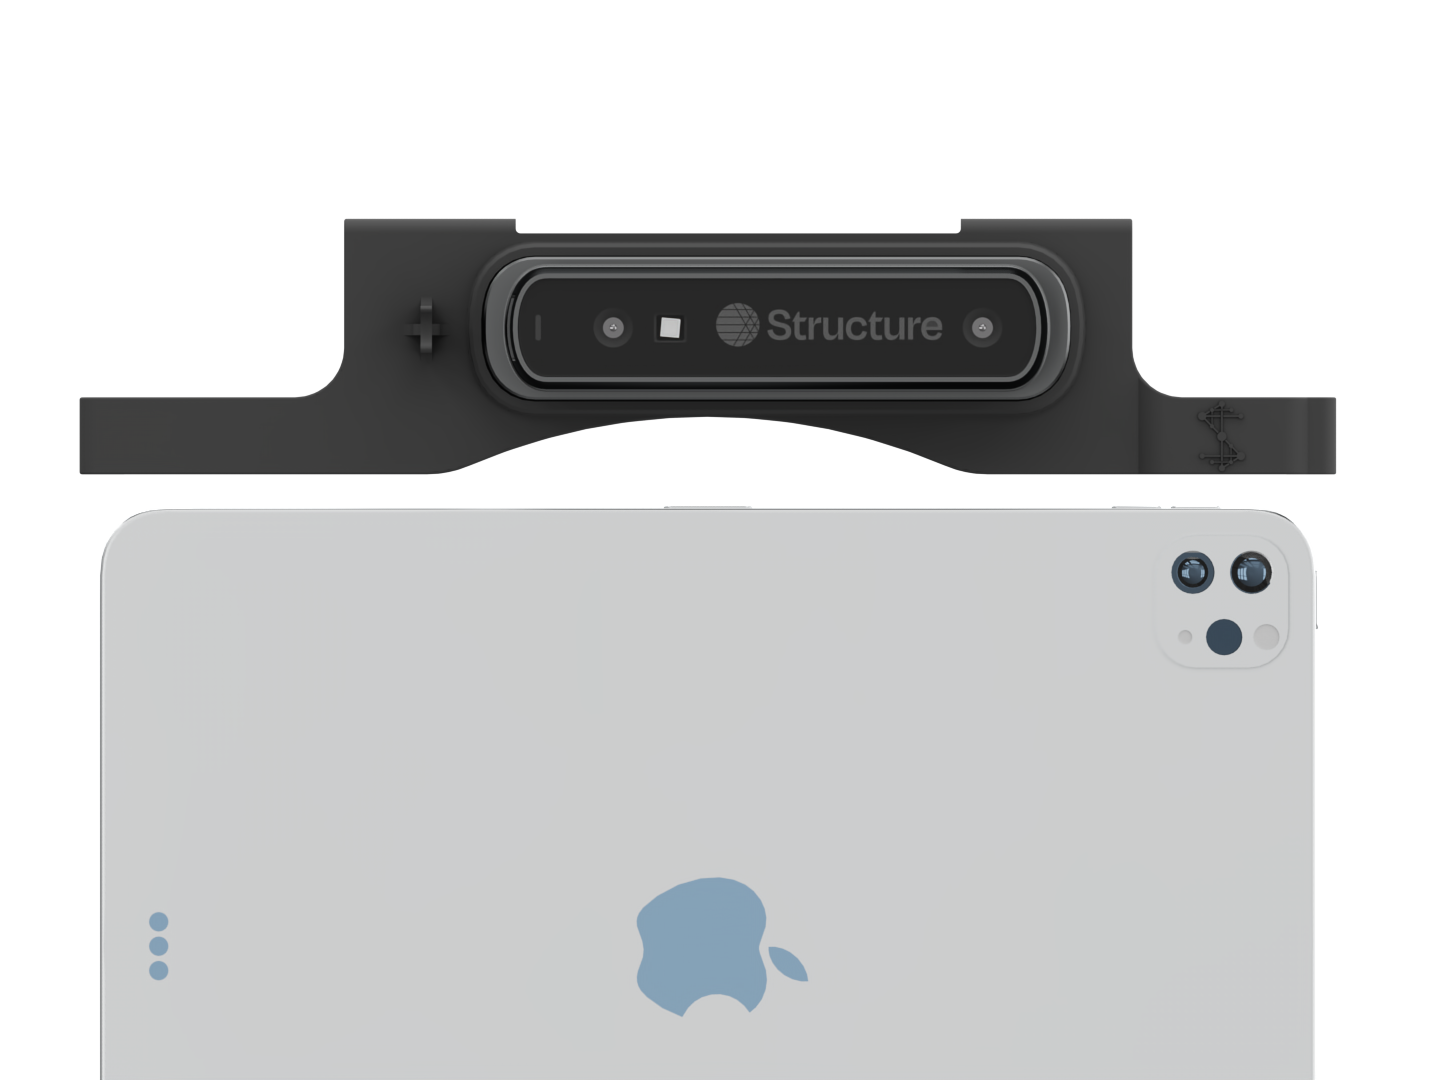
2. Attach Bracket to your iPad.
Slide the bracket down on both sides of the iPad as shown until the bracket is fully seated at all points.
Note: it’s important to make sure the bracket is fully seated as shown.
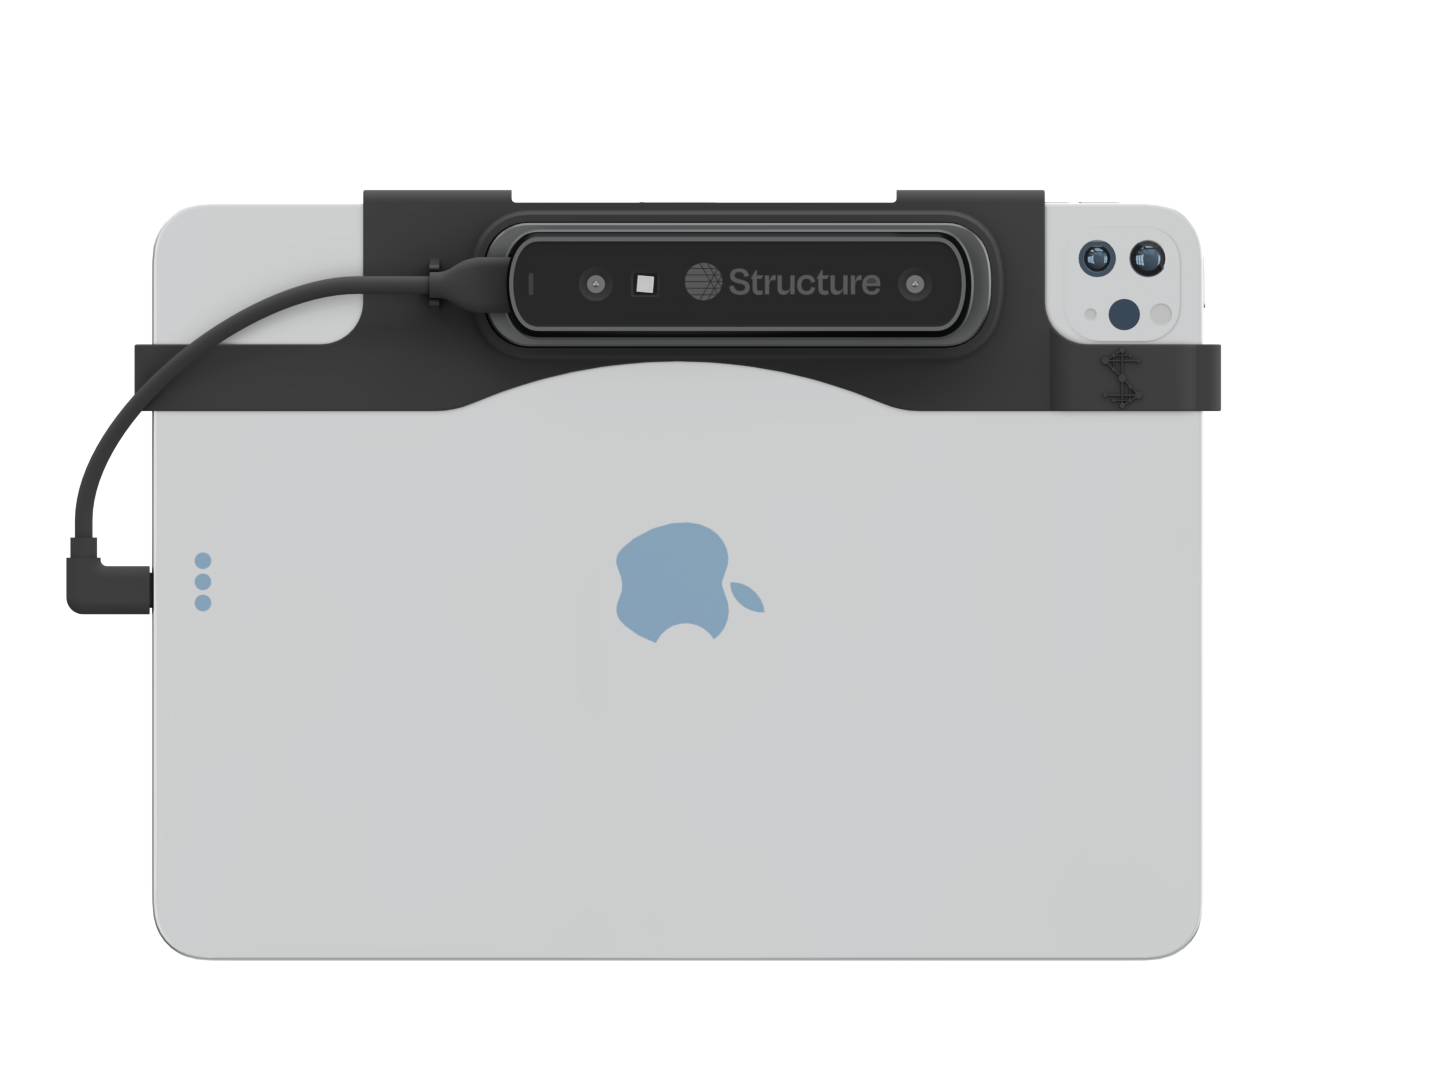
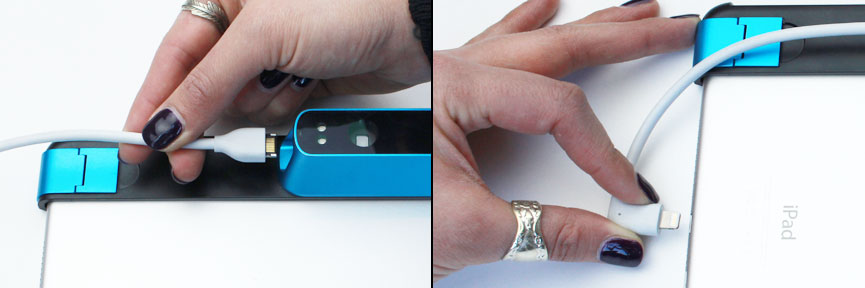
3. Connect Structure Sensor to your iPad.
- Confirm that the iPad does not have a screen protector or a case, otherwise the bracket may not fit and you may damage the iPad, sensor or bracket.
- Inspect the charging port to ensure it is free from debris or obstructions.
- Plug your USB-C or Lightning Cable into the sensor. Note the correct orientation as shown.
- Plug the other end of the cable into your iPad.
1. Mounting with the Precision Bracket
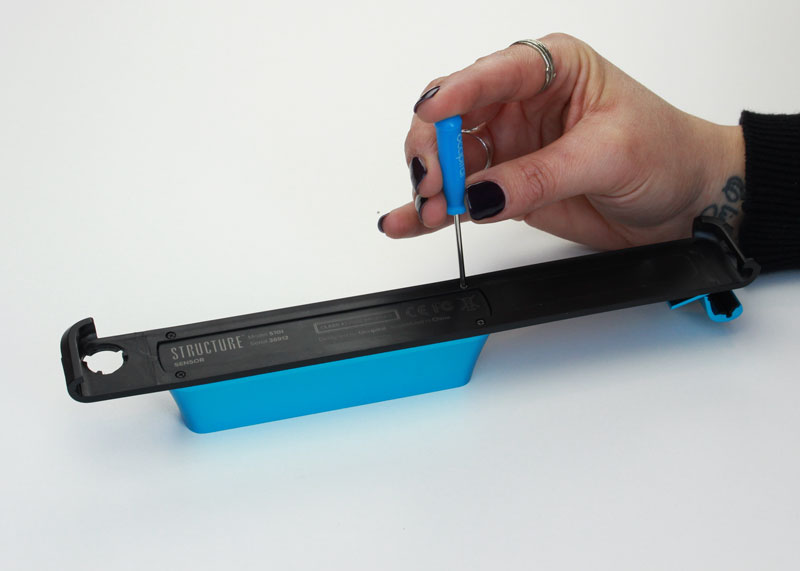
1. Attach Structure Sensor to your bracket.
Attach Structure Sensor to your iPad bracket using the supplied screws and screwdriver.
Important: Only use the screws that came with your sensor to attach the sensor to the bracket.
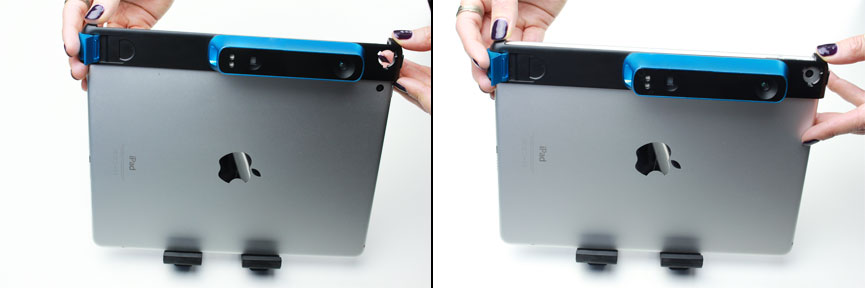
2. Attach Bracket to your iPad.
Starting with the clasp open, slide the bracket down on both sides of the iPad as shown until the bracket is fully seated at all points.
Close the clasp.
Note: it’s important to make sure the bracket is fully seated as shown.
3. Connect Structure Sensor to your iPad.
- Confirm that the iPad does not have a screen protector or a case, otherwise the bracket may not fit and you may damage the iPad, sensor or bracket.
- Inspect the charging port to ensure it is free from debris or obstructions.
- Plug your USB-C or Lightning Cable into the sensor. Note the correct orientation as shown.
- Plug the other end of the cable into your iPad.
2. Download the Structure App and Check for Updates
Now that your Structure Sensor 3 is attached, let’s get your iPad ready for scanning.
- Install the Structure App from the App Store to ensure your sensor is running the latest firmware.
- Open the app and check for available firmware updates. Keeping your sensor updated ensures the best performance and new features.
- The Structure App also lets you check depth coverage, IR projector, battery status, and submit a log to our support team.
3. Download the Structure Sensor Calibrator App
The Structure Calibrator App is essential for aligning your sensor with your iPad’s camera. Proper calibration improves scan accuracy and ensures optimal depth coverage.
Install the app from the App Store and follow the guided steps to calibrate your sensor.
4. Start Scanning
Your sensor and iPad are now updated, calibrated, and ready to scan! You just need a Structure Sensor 3 compatible scanning app to get started.
Use a Scanning App
We recommend using Structure Capture, our official scanning app designed for quick and easy scanning and mesh export. Structure Capture transforms your Apple TrueDepth, Structure Sensor or Apple LiDAR (coming soon) sensors into a low-cost 3D scanner able to create 3D meshes out of real scenes in a few minutes!
Other third-party apps are also compatible with Structure Sensor 3. If an app is designed to work with Structure Sensor 3, it should function seamlessly with your device.
Need Help?
If you run into any issues, check out our troubleshooting guides or reach out to our support team.